BandwagonHost has two layers: the client area (ordering, paying, renewing) and the KiwiVM control panel (managing the server). Button names below follow the English interface and may change after redesigns.
1. Order
- Open the BandwagonHost order link (the author’s referral link — see below).
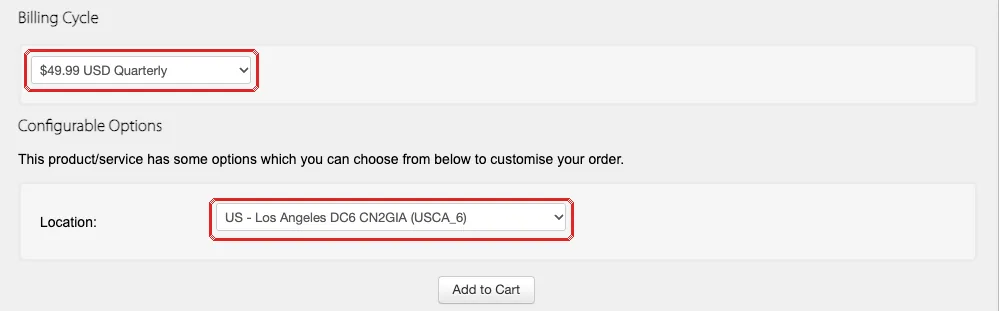
- Confirm the plan and Billing Cycle, and choose a Los Angeles option under Location.
- Add to cart, create an account at checkout (Gmail recommended) and pay — Alipay (支付宝) is one of the options.
2. Open the KiwiVM control panel
- Log in to the BandwagonHost client area and go to Services → My Services; your new server is listed.
- Open it and find the entry to the KiwiVM Control Panel.
3. Find the three things to write down
- IP address and SSH port: shown on the KiwiVM home page (Main controls). BandwagonHost’s SSH port isn’t always 22 — go by the page.
- root password: in the server-ready email; if you can’t find it, generate a new one in KiwiVM with “Root password modification” (shown once — copy it immediately).
4. Check the OS
The KiwiVM home page shows the current OS. If it isn’t Ubuntu 22.04+ or Debian 12+, reinstall it as Ubuntu 24.04 following Reinstall the OS as Ubuntu.