1. Which installer to download
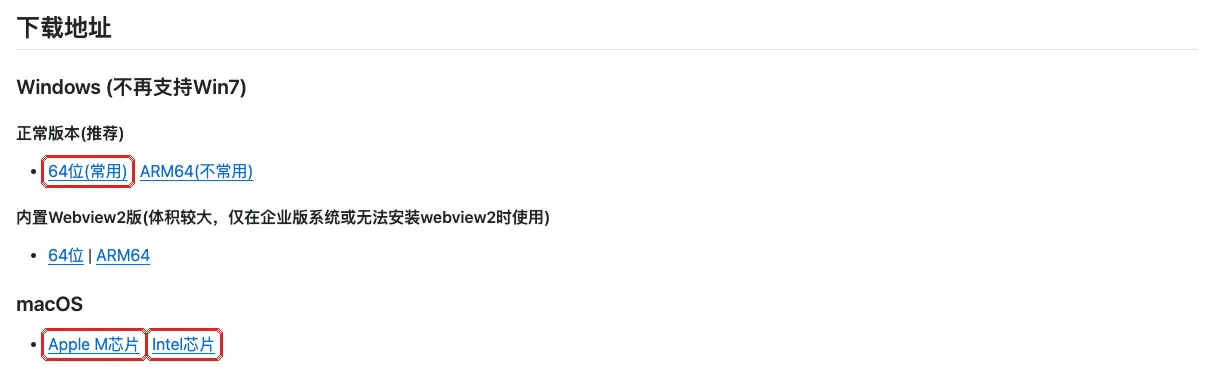
Open the official releases page github.com/clash-verge-rev/clash-verge-rev/releases and, under the latest version’s files, look for:
| Your computer | Download |
|---|---|
| Most Windows PCs (Intel or AMD processors) | The file ending in _x64-setup.exe |
| Windows PCs with ARM processors (e.g. Snapdragon) | The file ending in _arm64-setup.exe |
| Installed but won’t open, complaining about WebView2 | The version with fixed_webview2 in its name |
Not sure which you have: Settings → System → About, see “System type”.
2. Install
Double-click the downloaded file and click through “Next”. If Windows shows a security warning, choose “Run anyway”.
3. Import the subscription
- Open Clash Verge and click Profiles on the left.
- Paste the Clash subscription URL from the login-info file into the “Profile URL” box and click Import.
- Click the new profile card so it becomes selected.
4. Choose Rule mode
Click Proxies on the left and choose Rule at the top. Both nodes, name-Reality and name-TLS, are listed here.
5. Turn on Tun Mode
- Click Settings on the left and turn on Tun Mode. When it says the service is required, click Install Service and click “Yes” in the administrator prompt.
- Click the gear next to Tun Mode, turn on Strict Route and save.
- In the Clash settings, keep IPv6 on and DNS Overwrite off.
Why, and more details: Turn on TUN mode.
Stuck?
Importing the subscription fails?
Check you pasted the Clash subscription URL (not the Shadowrocket one), complete. Still failing? Open the URL in a browser — if it opens, the server is fine.
Installing the service fails?
Right-click Clash Verge, choose “Run as administrator”, then turn on Tun Mode (no service needed this way).
With Tun Mode on, no site loads?
Quit other VPNs and game boosters; allow Clash Verge if Windows Firewall asks; still failing, turn off Strict Route and try again.